PAX S300 Set Up
STEP 1: Getting the IP Address of the PAX S300
You will need to get the IP Address of the PAX S300 in order to communicate to it from Lightning Online Point of Sale.
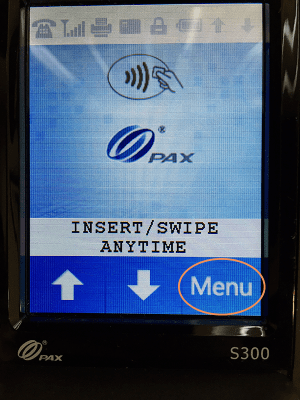
Ensure that your PAX S300 terminal is running and click the Menu (Func + 1) button. You will be prompted for the terminal password.
The password will always be the current date in the format mm/dd/yyyy.
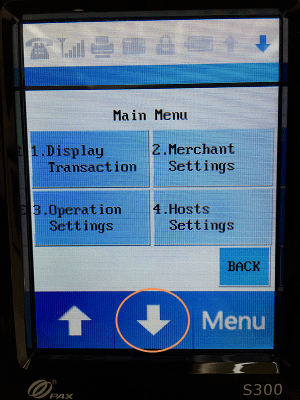
On the menu screen that appears click the down arrow to go to the next menu screen.
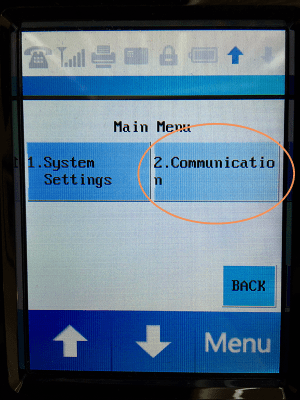
Click on the Communications button.

On the Communication Options screen click the down arrow again which bring up the menu noted below.
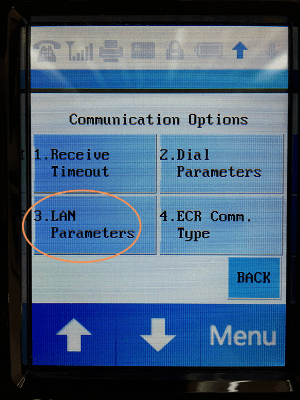
On the next menu click the LAN Parameters button.

On the LAN Parameters menu click on the IP Address option.
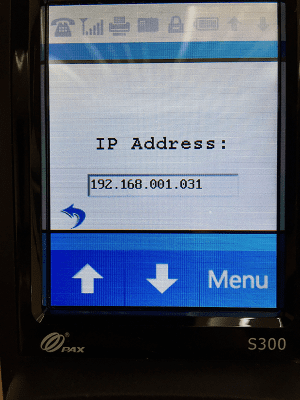
And on the final screen, you will see the IP Address displayed.
STEP 2: Setting up the Hosts file
Once you have the IP address of your PAX S300 by following Step 1 you will need to configure the hosts file on your PC.
The host's file is a special file in Windows that gives a name to the IP Address.
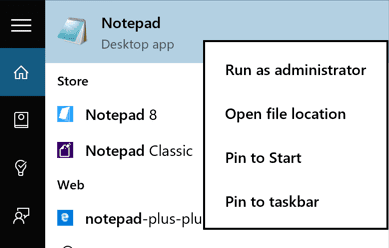
From Notepad, open the following file: c:\Windows\System32\Drivers\etc\hosts
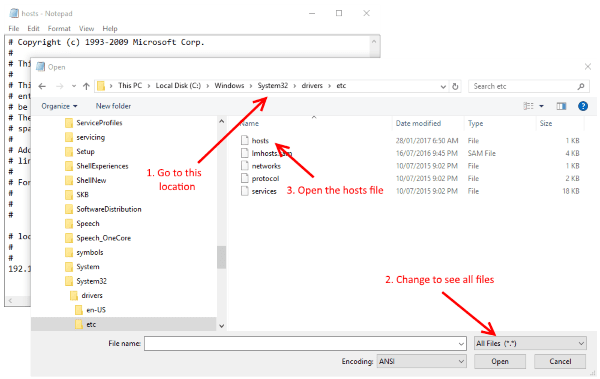
From Notepad, open the following file: c:\Windows\System32\Drivers\etc\hosts
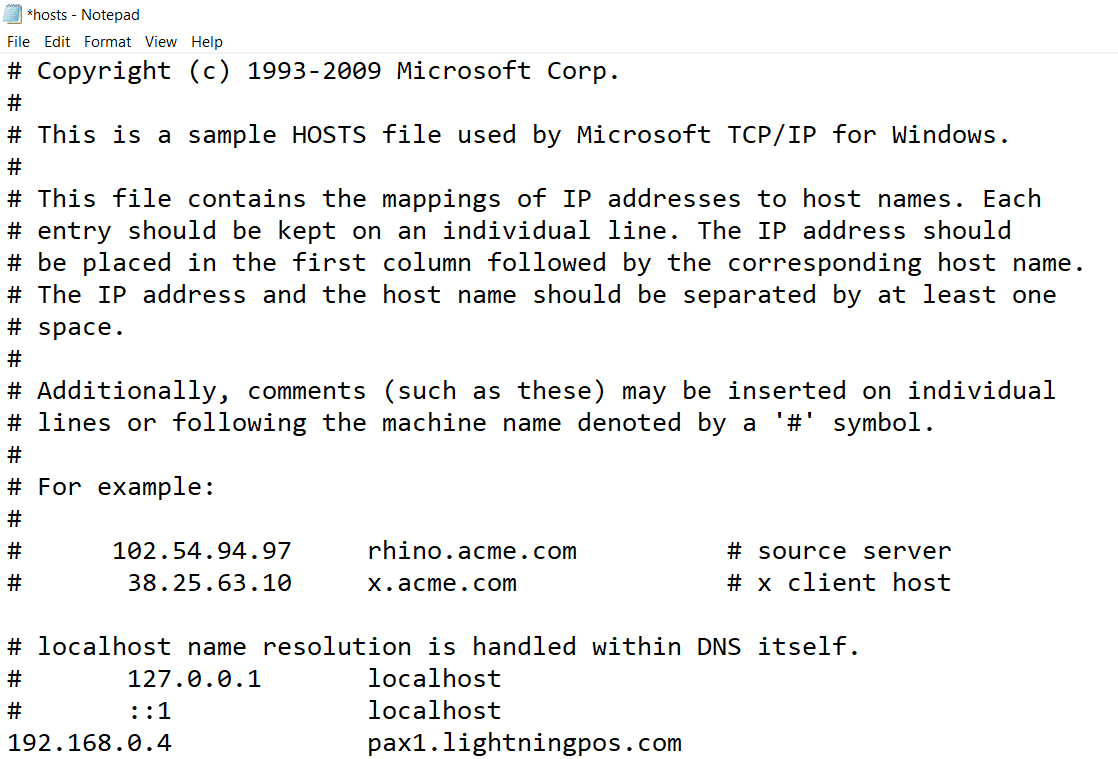
Add the following entry to the bottom of the host's file.
The IP address entered may not be 192.168.0.4 but should be the one you noted down in Step One.
192.168.0.4 pax1.lightningpos.com
It should look something like this.